
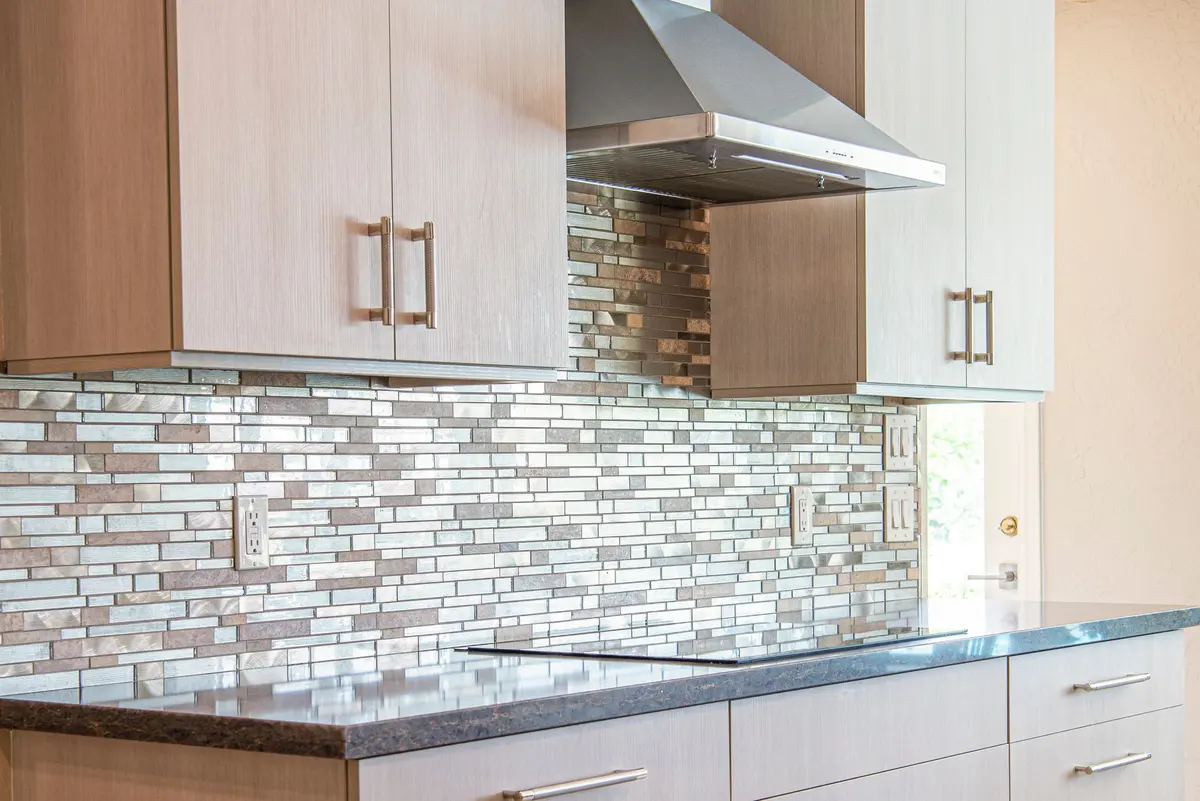
Backsplash Installation in Richmond, VA
A backsplash is the quickest way to change how a kitchen feels. We set backsplashes with straight lines and tight grout in homes around Richmond.
Backsplash Tile That Looks Finished From Every Angle
A backsplash protects the wall behind your sink and stove from splashes and grease, and it is also the part of the kitchen people notice first. A good one looks like it was always meant to be there. A rushed one shows its mistakes in crooked lines, uneven gaps and tile that stops awkwardly at the cabinets.
What sets a clean backsplash apart is layout. Before any adhesive goes on the wall, the tile needs to be dry-laid so that cuts at corners, windows and outlets are balanced rather than leaving one thin sliver of tile in a visible spot. Edwin Madrigal takes his time over exactly this kind of finish work.
Backsplashes are also a popular upgrade for kitchens that are otherwise in good shape. In older Richmond homes with plaster walls, or mid-century Henrico kitchens with original countertops, a new backsplash can modernize the room without a full remodel. If the project grows, see our kitchen remodeling page.
Signs It Is Time for a New Backsplash
Not every kitchen needs one, but these are the common reasons people call us:
- A bare painted wall behind the sink or stove that is stained, greasy or hard to keep clean.
- An old backsplash that looks dated, with cracked tile, yellowed grout or a style you want to change.
- Grout that has stained or crumbled, leaving gaps where moisture can reach the wall.
- A freshly updated kitchen where new counters or cabinets make the old wall look worn.
- A house you plan to sell and a kitchen that needs one visible upgrade.
How We Install a Backsplash
Plan the layout
We measure the wall, choose the tile and pattern with you and map out where cuts will fall around outlets, windows and cabinet edges.
Prep the wall
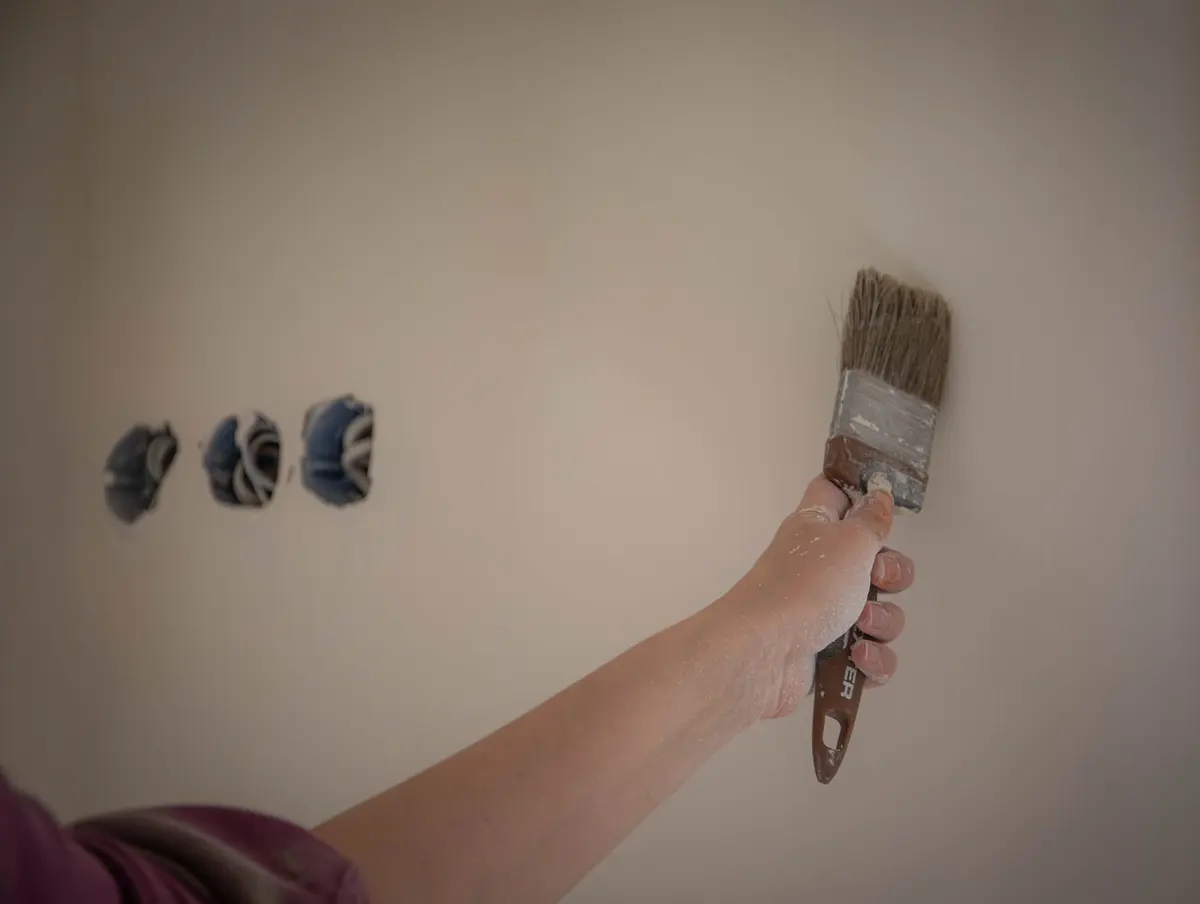
We clean the wall, repair any damage, mask the counters and cabinets and remove outlet covers so the tile has a solid, flat surface to bond to.
Set the tile
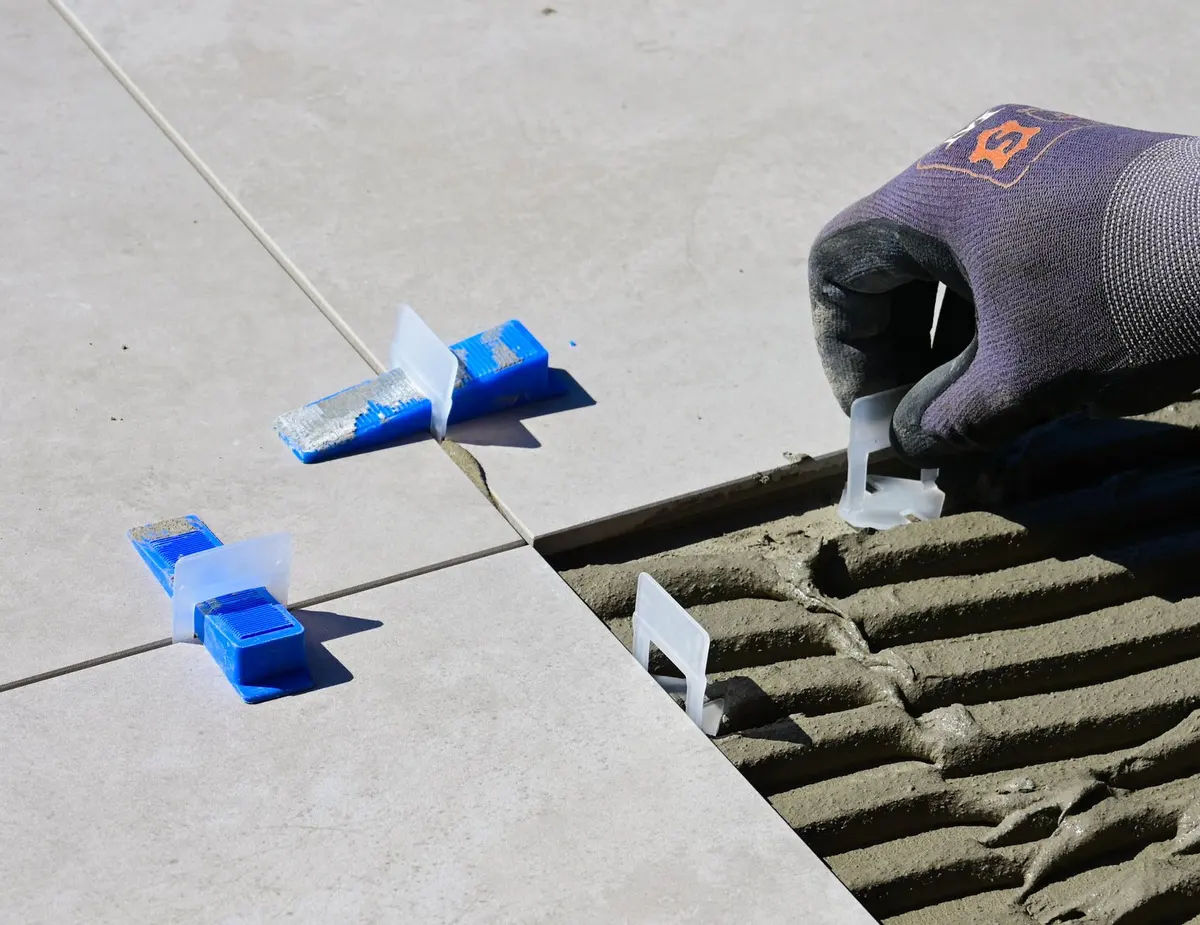
We apply adhesive in small sections and set each tile with spacers, checking level and line as we go.
Grout and clean
After the adhesive has cured, we grout the joints, wipe the surface clean and remove any haze.
Seal and finish
We caulk the edges at the counter and cabinets, seal the grout where needed and walk the finished wall with you.
What Changes the Price of a Backsplash
Backsplash prices vary widely. This is what moves the cost of your job:
Tile choice
Ceramic, glass, stone and mosaic differ widely in cost per square foot and in how long they take to cut and set.
Wall area
A short run behind the counter is a quick job, while a floor-to-ceiling feature wall takes much longer.
Pattern and layout
Herringbone, diagonal and mosaic patterns need more cutting and planning than a straight stack.
Obstacles
Windows, outlets, range hoods and corners all add cuts and time.
Wall condition
Walls that are bumpy, damaged or covered in old tile need prep before any new tile goes up.
Grout and finish details
Specialty grout, sealing and trim add materials and steps.
Why Richmond Homeowners Choose EGM Renovations for Backsplashes
Backsplashes and tile are among the finish jobs Edwin Madrigal takes the most pride in. Tile is a trade where patience shows, and he takes time over the layout so the finished wall looks balanced and clean.
We can also handle what surrounds the tile. If your counters need to be protected, your wall needs a repair or the room needs a fresh coat of paint after the tile goes up, we do not need to bring in a second company for each step.
See our tile installation page for floors, walls and showers, or our painting page for the finishing touches.
Backsplash Installation in Richmond and Henrico
We set backsplashes in kitchens and baths across Richmond and Henrico County. Older city kitchens often have plaster walls that need careful prep, while mid-century county kitchens tend to be simpler walls with a new look in mind. See our Richmond and Henrico County pages.
Backsplash Installation FAQs
How much wall do I need to cover?
The standard choice is the space between the countertop and the bottom of the upper cabinets, but many people extend tile up to the ceiling behind a stove or all the way around the room. We measure with you, and the layout we agree on sets the quantity of tile.
What type of tile works best for a backsplash?
Ceramic and porcelain are the most common because they resist splashes and wipe clean. Glass, natural stone and mosaic sheets are popular too. Large tiles mean fewer grout lines, while small tiles hide uneven walls better. We help you weigh the look against the upkeep.
Do my outlets and switches need to be moved?
Usually not, but they must be handled carefully. The outlet covers come off, and extenders may be needed to keep the outlets flush with the new surface. If the outlets need relocating, that is electrical work to discuss separately.
Can a backsplash go over the existing wall surface?
It depends on the wall. Sound, clean, flat painted drywall usually works after prep. Glossy surfaces, wallpaper, water-damaged wall sections or very uneven plaster have to be fixed or prepared first so the tile bonds.
How long does a backsplash take?
A typical kitchen backsplash takes a day or two, including time for the adhesive to set before grouting. Complex layouts, patterns and cutting around windows add time. We give you a realistic schedule at the quote.
Ready to Update Your Kitchen Wall?
Call or send a request with a photo of your kitchen and we will give you a free quote.